How to Ink Group Runthrough Week 4
-
Hi guys! This is where some of us are working through How To Ink 2.0 in the weeks running up to Inktober! There are 3 weeks to get through the meatier bits of the course, which gives us just enough time

Everyone's welcome to participate, but in order to have access to the classes and homework you need an SVS subscription. It's worth it.
If you wanna join and want to catch up, feel free to check out week one here: https://forum.svslearn.com/topic/7905/how-to-ink-2-0-group-runthrough-week-1/123
Feel free to do digital or traditional. It's all good.
This week it's time to explore local value!
Watch:
'local value' series of videos. Only two videos!
Homework:
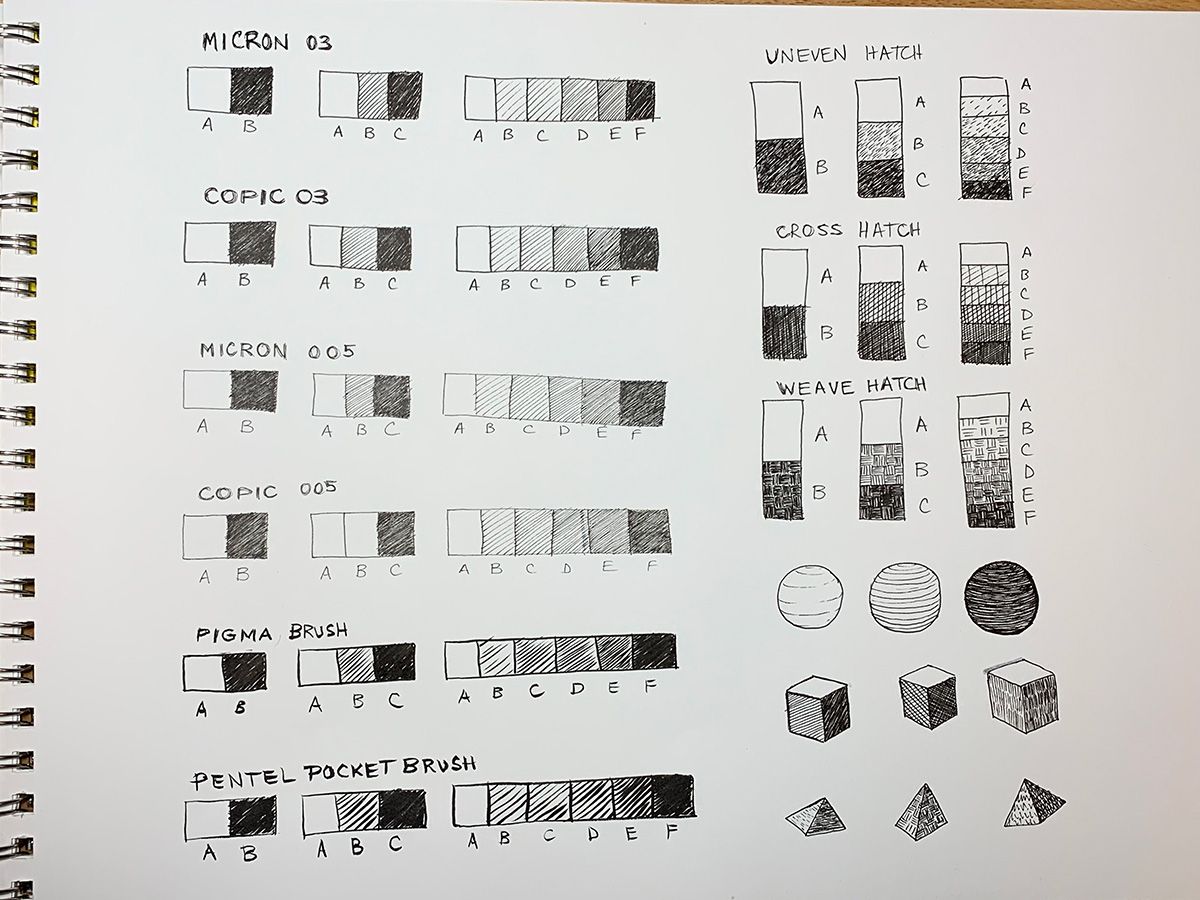
Create your own selection of value scales. A two tone, a three tone and a six tone (or however many tones you want, but have a selection). Try at least two different methods of hatching, but bonus points if you do more
 Try different tools, line types and such.
Extra special awesome homework that only that one person (you know who you are...!) will consider:
Apply your value scale to a drawing (one from the drawing pack, or your own).
Feel free to post comments/questions/homework and ask for feedback here
 !
!And have fun


-
Ugh. My line work is so ugly. I am forcing myself to work quick, loose, and in ink only - one time shot at everything with no redraws and no overthinking. My new approach to learning is to lead with my weaknesses, face the ugly, and let go of expectation. Ink has a way of doing that to an artist anyway, might as well embrace it

With that in mind I am going to post my shapes in last week's thread. I avoided posting because they made me cringe.
-
@Erin-Cortese Ink is hard to work with and getting it to look loose and natural is the hardest but I think your work is looking good.
-
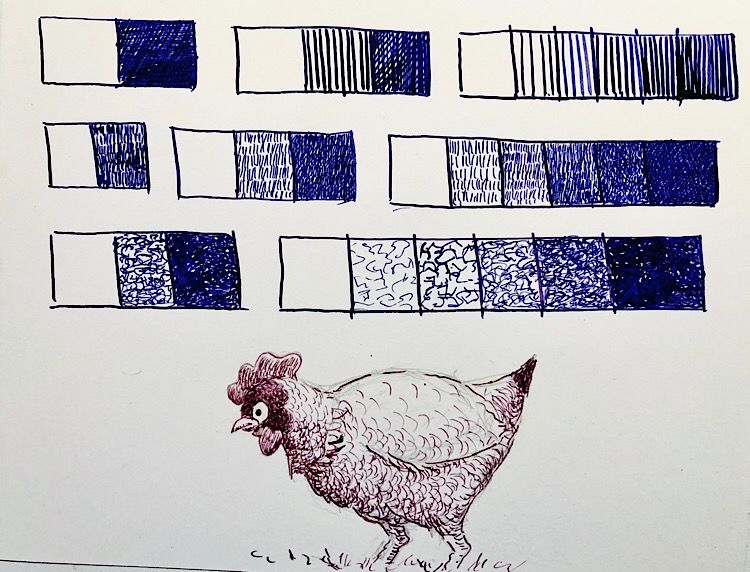
Here’s my first attempt at the assignment- dip pen on Bristol board. Hatching continues to plague me because the wet ink of the first pass causes the second pass to bleed so I have to let it dry first which in my hurry I keep forgetting to do. Anyway - a few value scales and values applied to a chicken. (Clearly, I need to use a ruler for those value scales.)
-
@Braden-Hallett This is such a great set of threads to read--I've been following along and doing the work as much as I can.
I struggle with understanding light and shadow. I do ok on objects. But then it comes to light and shadow in a full picture or composition, I get lost. I think this is one of the things that really holds my inking back. When I followed along with Jake inking the girl and creature-I did fine because Jake told us where to put the thick and the thin lines.
I've taken the Light and Shadow class. Does anyone have any other tutorials for light and shadow within a composition?
-
@Susan-Marks In my experience the 3 biggest things that have helped me with light and shadow in a bigger scene are :
-
Learning perspective and breaking down objects into simple 3D shapes. This helps you organize and simplify the information you are working with in your mind. Large complex scenes and compositions can be broken down, shadow shapes and light angles make a lot more sense when you understand how to visualize things in perspective.
-
Still life studies, drawings from life, observational analysis about the world around me when I don't have any art materials on hand. To me still life studies hold a lot of answers that can be applied to full picture compositions. Painting a picture of a house plant, a bird house, and my kid's doll is transferable knowledge to bigger scenes from my imagination. Do enough of these, and you have a resource bank in your head about how light and shadow falls on different groupings of objects, different shapes, different materials, and different lighting conditions. Whenever I find myself overwhelmed with how to portray or light a larger picture, I miniaturize it in my mind, and visualize it as sort of a still life. It makes it a lot more manageable.
-
Making your own simple reference- Learning how to make simple reference, light it, and photograph it for specific pieces helps a ton! Use stand-ins for characters and objects with things you have around the house, grab a lamp or two to light the scene, take some photos, and you suddenly have a lot of your questions answered. Not only do you get information for the specific piece you are working on at the moment, it adds up in your visual knowledge bank for pieces in the future.
-
-
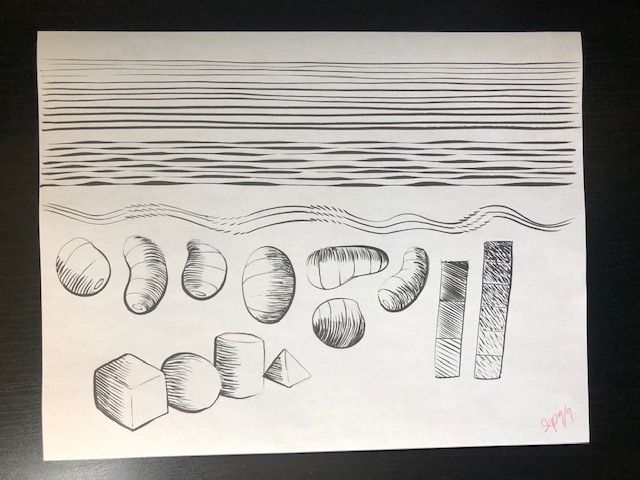
The weekend got away from me due to spending time with family but I’m back it fresh and ready to go today! Here’s a quick little warm up with Pentel Brush Pen. Felt great today.
-
@Erin-Cortese I think this work looks fantastic. No more negative self talk! I love the concept of leading with your weakness and facing the ugly. I also JUST had a conversation with my wife about how most disappointments in life arise from unmet expectations. Therefore, lose the expectations and life is just better all around... especially for artists looking to improve:)
-
@demotlj @Bricz-Art Thanks guys, and I couldn't agree more about the expectations! As much as my post sounds negative, it is actually a positive step in the right direction for me. I kind of feel relieved.
I am coming to illustration from a pretty extensive background in graphic design, which has caused me quite a few psychological hurdles - high expectations that I am not able to meet, an eye for design that far exceeds my ability in illustration, and an anxiety about starting later in life that has made me impatient and caused me to goof up the whole process.
Now I have given myself permission to create things that would normally make me cringe, and share it with the world....hooray!
**Disclaimer I will herein continue to complain profusely about the whole process, as I can only ask so much of myself.

-
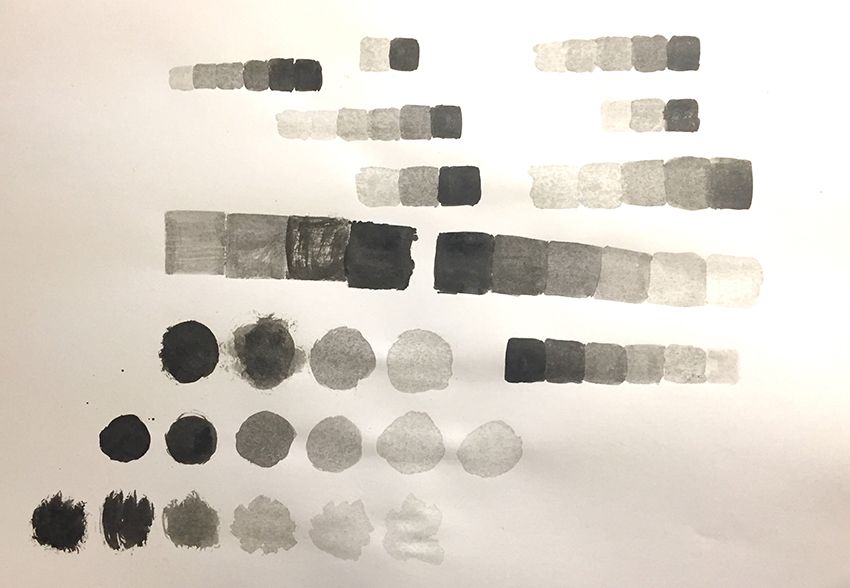
Today's practice.
I think I finally reach to the point that I may need to switch to a watercolor sketchbook for the practice. There is a reason why people don't work with ink wash on copy paper. :smiling_face_with_open_mouth: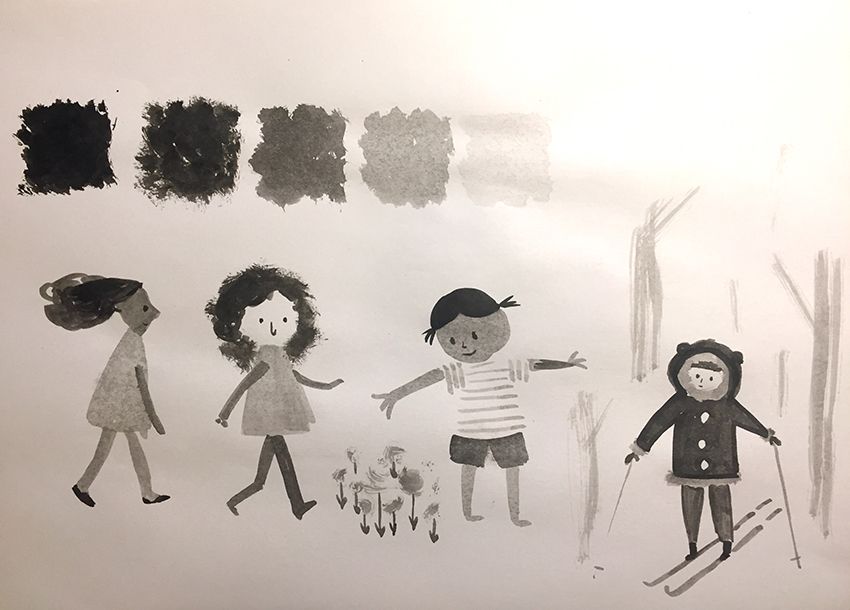
-
@Erin-Cortese I totally relate to what you are saying.
-
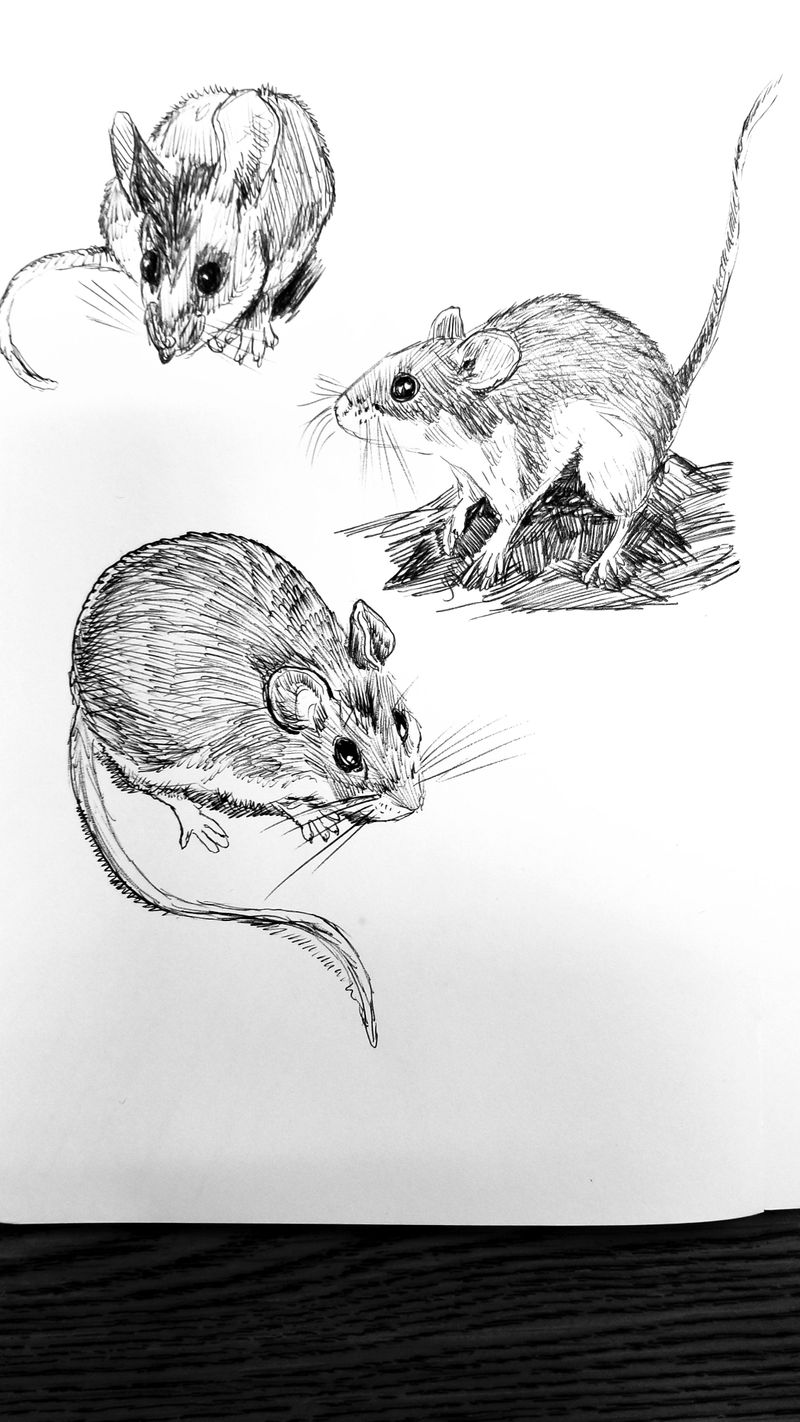
So now I am researching deer mice and drawing them. I used a ball point pen. I kinda like the texture you can get. Do you think it could be a legit ink form for illustrations? Here is a sample:
-
@chrisaakins I think they look fabulous and you should keep doing whatever you are doing.
-
There are two books I would like to recommend for more exercises like these.
-
"Framed Drawing Techniques" by Marcos Mateu-Mestre. This book I recently purchased at Lightbox Expo and got to see Marcos do a demo it was amazing, it was mindblowing just how confident the man is when he places a line
-
"Rendering in Pen and Ink" by Arthur L. Guptill. This one shows more of the old master's approach to inking and has a lot of great tips on the basics and for more advanced techniques. Also has a great variety of ink styles and samples of different masters back in the day.
Can't wait to see you guys work on inktober.

-
-
Ahhhhh. I was wondering why grayscales weren’t part of the hatching and mark making stage. I just needed to catch up. But I love some good gray scales! Great job guys
-
@chrisaakins these are great
 . I see ball point pen art ALLL the time in Instagram. There’s a woman that does these fantastic trees. I can’t remember her name but it doesn’t matter. If you’re feeling it, do it.

-
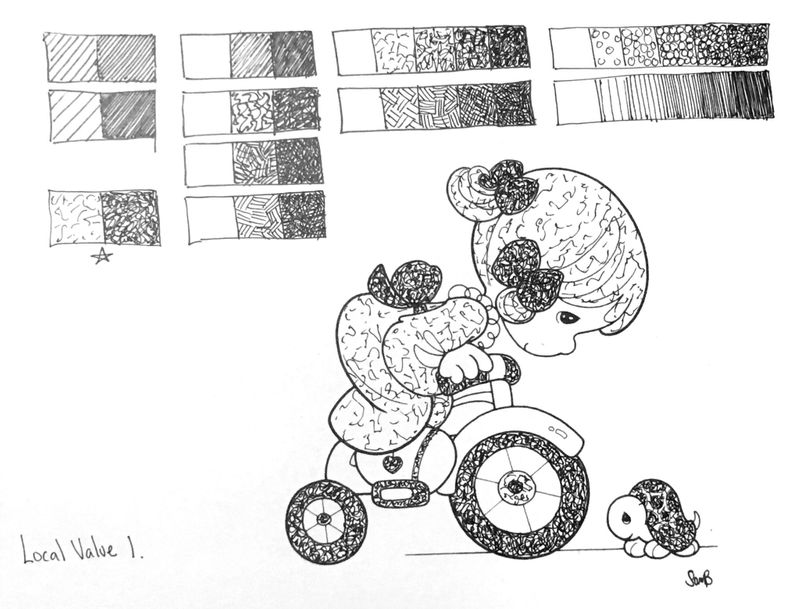
I applied a 2 step scale to a drawing from a coloring book. Precious Moments.
-
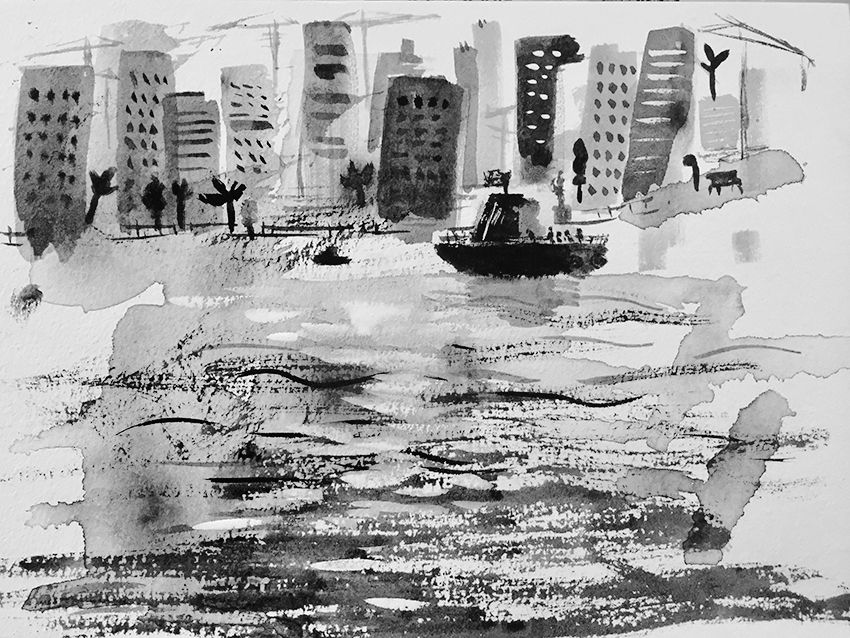
Finally painted something with ink wash on a proper water color paper. I messed up one piece of paper, I can do it again

It is very interesting to paint loose. I felt I have very little control on the strokes I make, but one thing that has guided me to proceed with the painting was to think about value and local tones. So this is definitely within this week's practice goal.
-
@TessaW Thanks for those awesome ideas. I've done some "miniatures" or stand-ins for a couple of things--but never really for a whole scene. I can tell you've put a lot of thought and energy into this--alas for no magic wand.
-
@chrisaakins I agree with @demotlj -any tool that gives you the effect that you're going for is the right tool. I think you deer mice look great.