Slow WIP
-
Trying to grow my style from the past inktober/misunderstood monster prompt, I am going to do this months the same. I figured I would share my process as I go along. My process has grown over time by learning new techniques, testing them and if I like them stick with it.
I always start with a gray toned canvas. This helps when it comes to local color.
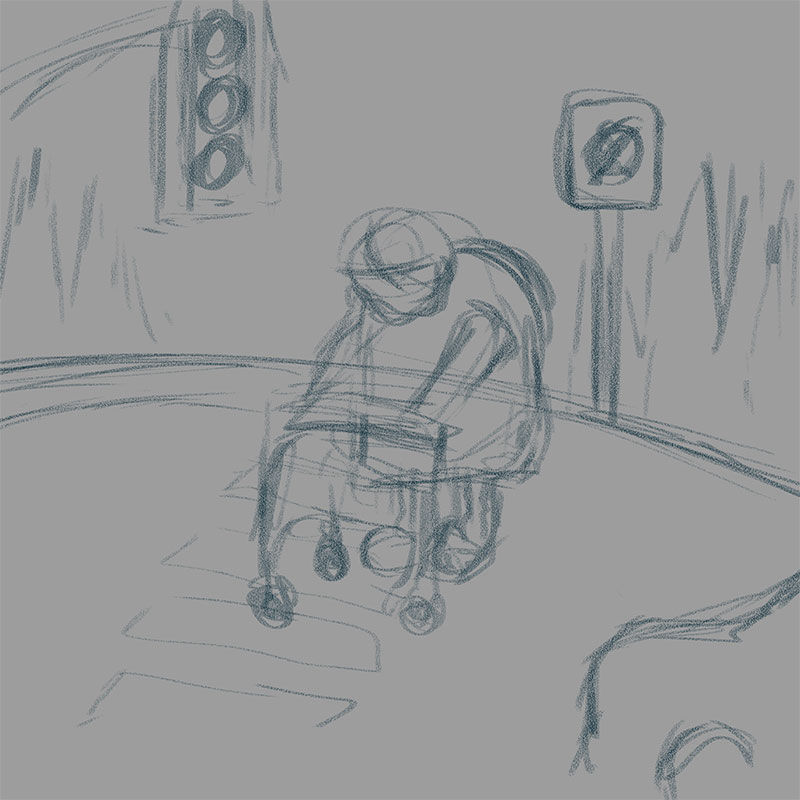
Step 1: Come up with an idea and start to scribble a bunch of different thumbnails till I find one I like. Here is the one that I liked the most.
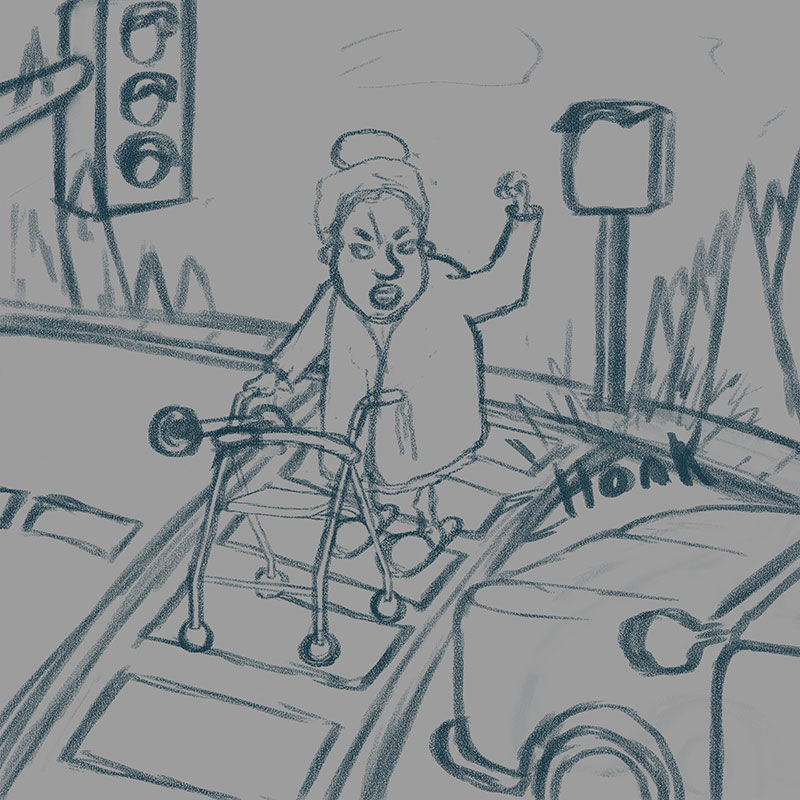
Step 2: Start to clean up the scribbles still keeping it loose.
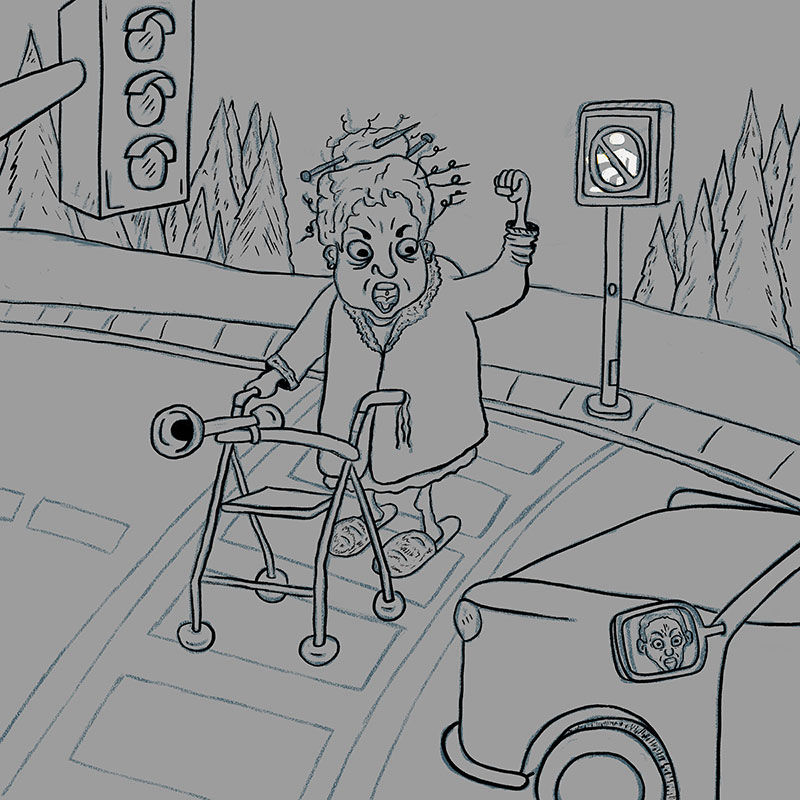
Step 3: Clean up the loose sketch and add details. In the past this would be my last step before moving into local color.
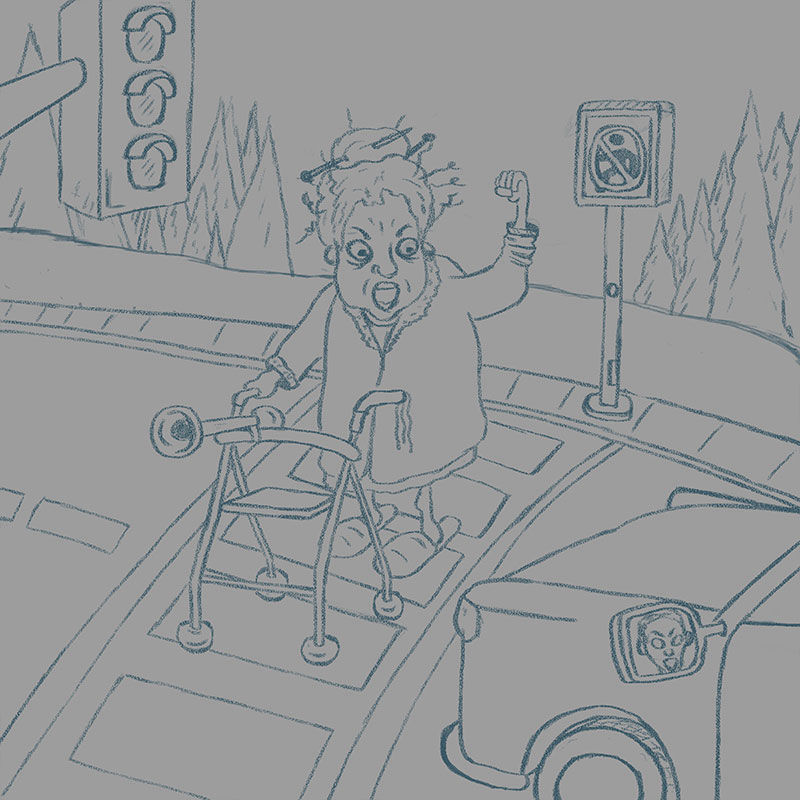
Steps 1 - 3 all used a sketch brush from Aaron Blaise. You can get it for free when you sign up for his newsletter. I think he still gives it out. I really love the texture and how it feels to sketch with.
Step 4: Ink the piece using my new favorite ink brush from Kyle Webster called Old Brush Ink from his inkbox set.
Step 5: Start to add layers under the ink layer to lay down my local color. I use a brush called DG_Main. Its from Dave Greco. It has a really nice chalk feel to it and I like how it blends colors. I use this brush for pretty much all the painting.
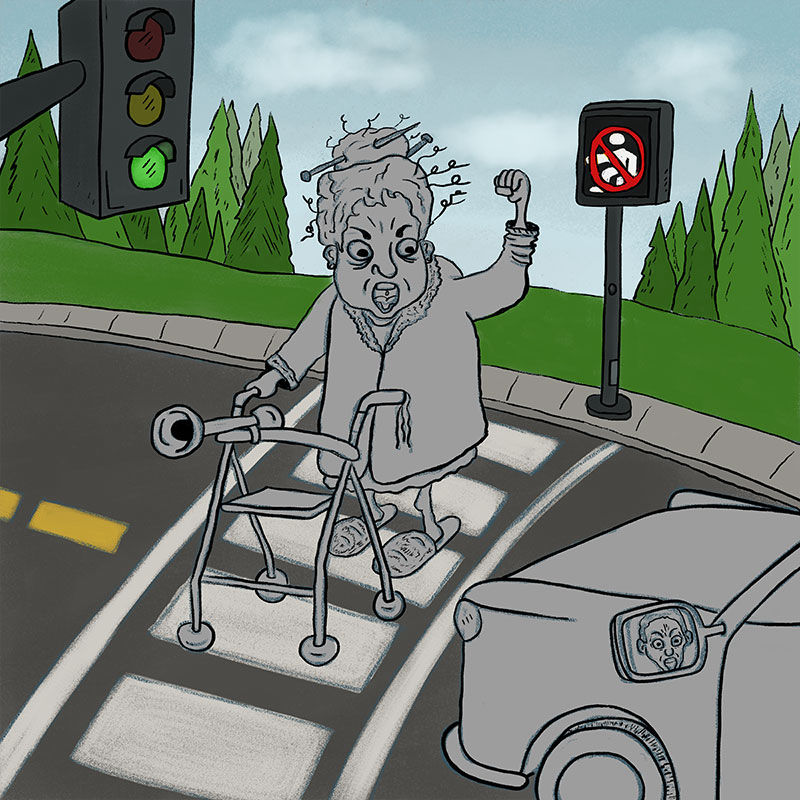
I still need to finish getting the local color in, then I drop a hue/saturation layer on top and drop the saturation to 0. This turns the piece to gray-scale and I can check my values to make sure everything reads correctly. If all good I start figure out where my light source is and start to add my shadows and highlights. I will share those steps when I get to them. Let me know if this is helpful at all.
-
Hey I like your character, I'm not sure if you want any thoughts I did a quick paintover that might help flatten the road a bit and give your picture depth. Just a thought. anyway great to see your process
")
-
@jason-bowen thanks for the paint over. I like the suggestion on it. I will make those tweaks.
-
I feel like that sometimes. I don’t do left turns. Get off my back people. I will go when I’m ready! Looks great/ I like the concept. Can’t wait to see her in color!
-
@chip-valecek cool looking forward to seeing it

-
This is looking really great, Chip! Cool take on the prompt--I like your feisty character! I do wish everyone would just chill out, slow down and have a little patience
-
@whitney-simms I thought I was the only one who doesn’t do left turns.
 Me, you and UPS.
 -
Looking great. Thanks for sharing your process. Love the character and the one in the side mirror is a nice touch.
-
Little background on this one, my oldest son gets his licences next week and that is him in the side mirror. Teen drivers are the worst LOL.
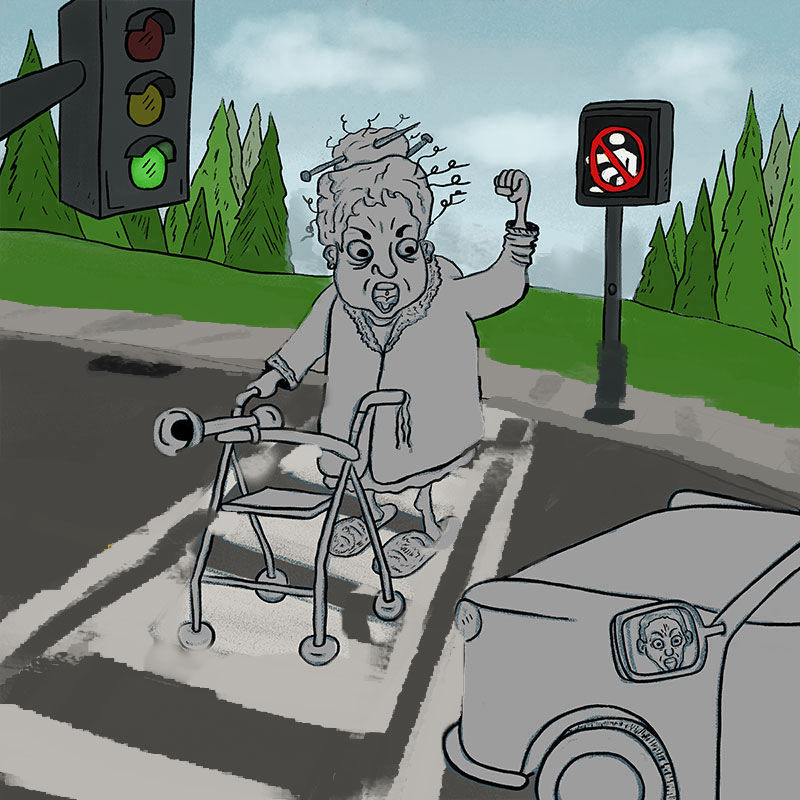
Continue of step 5 of the local color and tweaked suggestion from @Jason-Bowen:

Step 6 - color the ink darker then the rest of the local color:

Step 7 - add texture paper on top and set it to multiple.

Onto the shadows and highlights, one of my favorite steps.
-
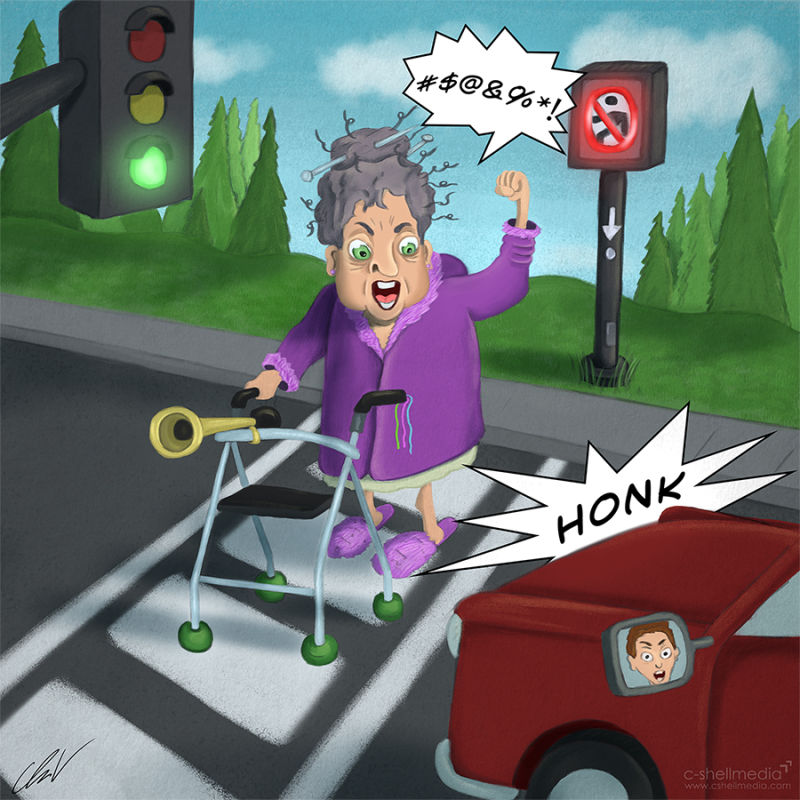
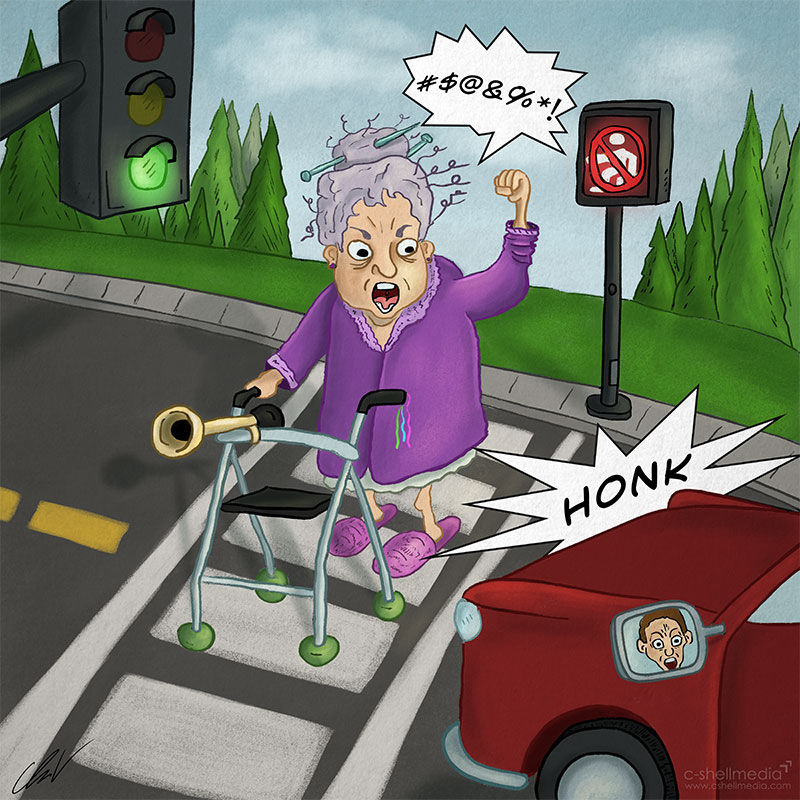
Here is the final with the lights and shadows added. I will sit on this till after Thanksgiving to see if i need to make any last minute tweaks before I submit it. Any crits are welcome.
-
Since there are more days left, I decided to paint this again in my original style. I will post that one as well and see what everyone prefers. I am undecided on which style to go with. Stay tuned...
-
So funny! My only suggestion would be maybe you could add a layer of mist or haze (or smoke if she’s in California
 ) between her and the tree/grass layer behind and that would reduce the values slightly on the background and allow your foreground objects to pop more. This is great though – I love the humor in your work!
 -
Here is my repainted piece and the one I submitted for the contest.