How to get liquid to look transparent
-
No image is showing up for me.
-
How large is your image? Resizing it smaller might help with the posting issue. It would help to see the image first, in order to help you, cause there's a few ways you could go about this. You are doing this digitally, correct?
-
@eric-castleman what size is the image you are trying to upload?
-
@eric-castleman I just checked the privileges on the Category and it was missing file upload. Can you try again?
-
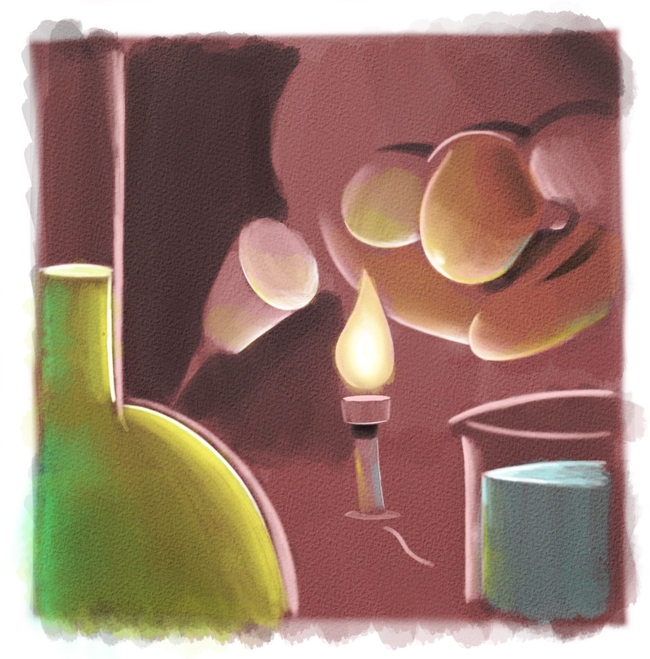
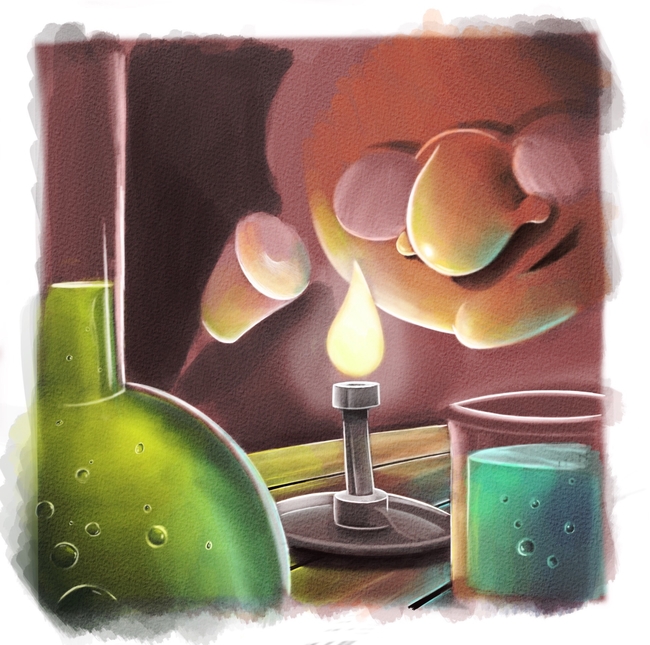
There we go! So this is a WIP. It is a old scientist roasting a marshmellow over a bunsen burner.
-
My artist brother replied to me by saying this. Think this is a good discussion, and a very hard technique. He wrote:
"It helps to just use something real as a reference. If the liquid is transparent, you can see through it obviously and see what is behind it. Make sure the liquid is in perspective and the oval on the top is right. Sometimes some bubbles inside water will help or like along the top of the water near the edge of the container. A transparent glass container also has various reflections. A reflection in front of the liquid will show the glass.
Look for photos of beakers with liquid and use one. Or maybe you can find a cartoon that has one like Phineas and Pherb. Is that how it is spelled? Not sure.
I honestly think the best illustrators use a lot of references when dealing with surface textures, liquids, metals, etc."
-
Yes, to the reference! I will try to do a paint over sometime today, but making it look transparent and the vials glass-like should be fairly simple. You'll want to pull in some darker tones into the liquid, and also some darker strips into the edges of the vial. Pull in some colors from the environment on the edges of the glass as well and a bright pinpoint highlight or two.
Googling "Mad Scientist" will give you some results as far as vial reference goes.
-
I would try going with a solid color maybe a little more saturated then the color you want to have. Then drop the opacity of the layer so it becomes transparent. From there you can add layers on top to add shadows and highlights. At least that is how I would go about it. And yes of course reference to nail the highlights. Keep in mind that anything you see through the water may become distorted by how the liquid would bend the shapes.
-
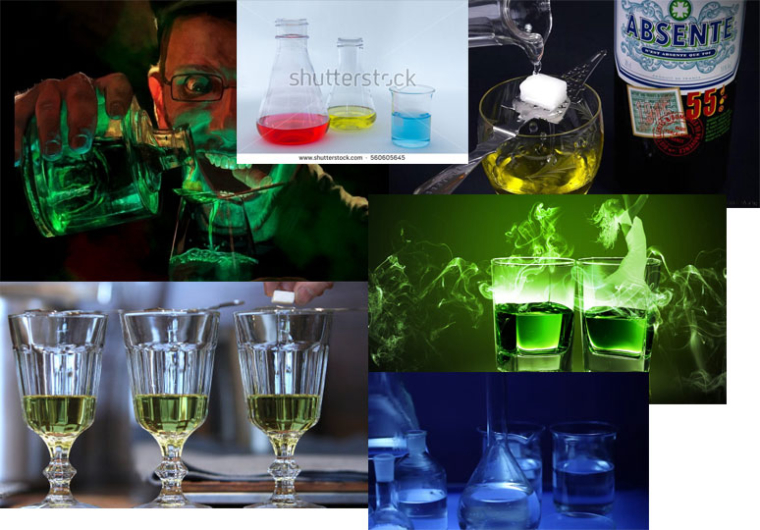
Here's some reference to show how pulling darks in there will sell the idea of transparency.
-
Still very much a WIP. It will probably take me the rest of the week to finish it, but here is what I got so far.
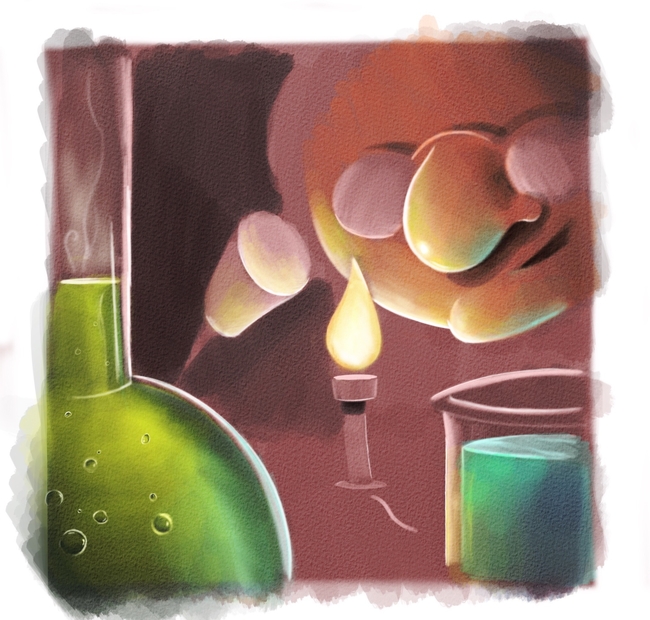
Going to add many more bubbles, as well as some darker reflective stuff through the liquid. Also, here is another image of the other objects that I will be adding in, not including his hand nodling the fork/poker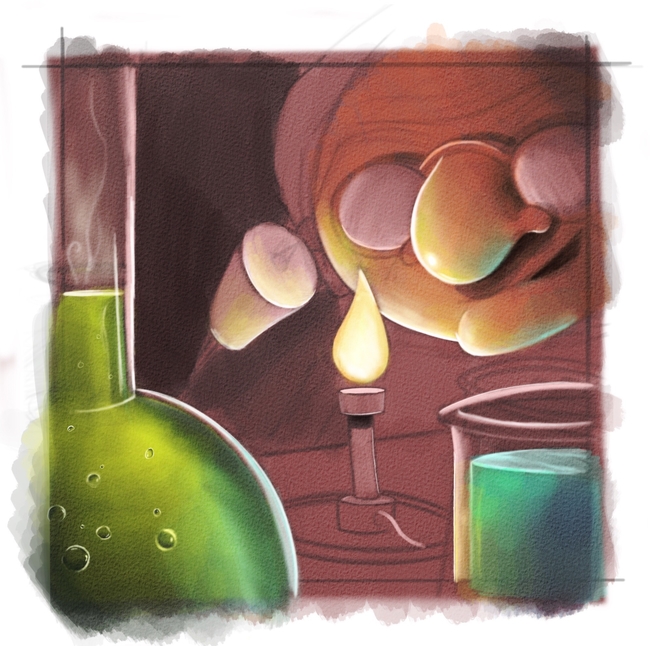
So since this post is mainly about reflective/transparent light, I won't post too much about the whole process, but once I get the table in, it will be interesting trying to figure out how the reflection might bounce back onto the table, as well as his glasses. I am really painting in the dark (figuratively) as I go, so it is fun to put this puzzle together.
I removed all the color from the first image and started over btw.
-
Great improvements! It's really shaping up and I have no doubt you'll be able puzzle out your desired results. If you ever want to take a course that deals with reflective and transparent surfaces, I recommend the Fundamentals of Lighting with Sam Nielson, over at Schoolism. You learn about reflections on metallic objects, eyeballs, water, glass and also the transparent aspects of glass and water. It's awesome.
-
This is a great discussion. I'm keeping an eye on this because I've wondered about all this too. Great work, by the way. I'm loving the bubbles in the green liquid.
-
@eric-castleman When you select "New Topic" for your post, you have to choose a category for your topic (art, general discussion) or it will tell you you don't have enough privileges. Same thing happened to me recently.
-
PS (or any thing with layers) it can make the "transparent" liquid process (or smoke, or ghosts, or magic, etc) a LOT easier.
With the liquid on one layer, add a layer mask to it (for non-destructive editing--if your program doesn't do layer masks use a low opacity eraser), take a brush with low opacity, and "paint out" sections of the liquid. That way, the layer behind it will show through.
This will get you a certain percentage of the way there but then you'll obviously still have to paint in specular highlights, shadows and whatnot. For that a reference is invaluable.
-
Just for kicks, I did a couple quick studies based on the blue liquid. My style of painting is more loose and "impressionistic" but I thought I'd shared in case anyone finds it helpful

https://youtu.be/BRKc4uBquDII think the main thing is to make the background/table show through the liquid. With the bubbles, I think you'll really have some awesome looking transparency!
-
@missmarck very cool!
Btw, I suck at Instagram, and for some reason I can never find people via search. Can you by chance link me to your profile?
-
Sure!
https://www.instagram.com/missmarck/
(I thought you were asking for my deviantart name before, so I gave you the wrong name XD ) -
Been super busy, but have worked on this image as much as I can. I put in the table, and am working on the burner, trying to make it chrome like, as well as looking around at references for reflections onto tables.
-
@eric-castleman It's looking great. I love how you've kept the liquid very soft looking inside. It really helps with the mood of the piece. The bubbles really help sell it. Not sure what you have planned in terms of the marshmallow, but I think you could push it so it looks more marshmallow-like. Maybe have the stick pushing through the top of it, shorten the proportion, and have a little toasting action going on.
-
@tessw yup, we ste on the same wave length. Those are my next few ideas. I have a poker going through the marshmallow in the drawing, but wanted to wait until I had the chrome on the burner correct. Softening up the marshmallow is something I have pondered, but the mid area is the next nightmare I have to tackle, so hopefully I will get those ideas right on when it comes to that part. Thanks for the insight. Very helpful.