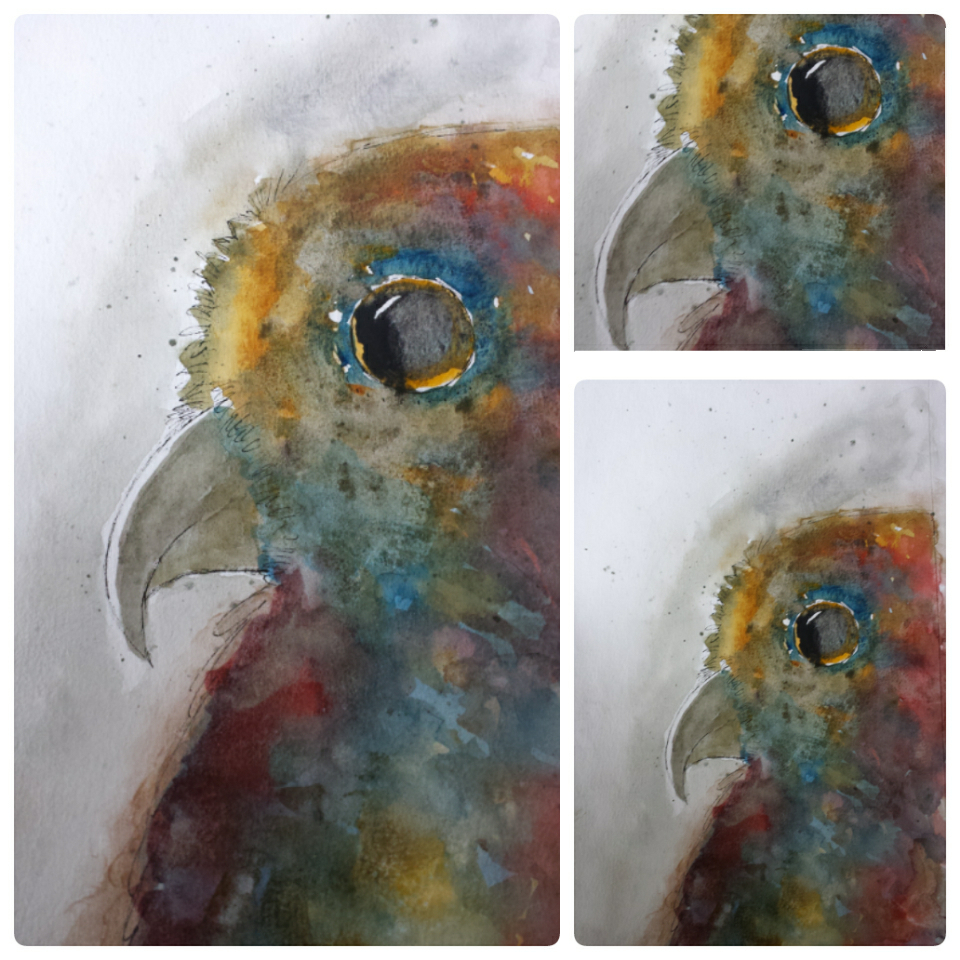
Owl watercolor Oy Vey
-

The color here definitely got away from me and way too muddy. I want to add some more ink for the detail and like the eye but overall I'm not sure how to fix this piece. Any advise appreciated.
-
I love it anyway. The series that you do are just really so nice and colorful!
-
@Leontine Thanks so much Leontine, adding some ink and white highlights. I may darken the eye a bit but I don't want to lose that nice white highlight. Wish me luck

-
@Charlie-Eve-Ryan I like your idea but your right the colors got away from you and the image got a little muddy. Preserving the "white" of the paper would probably go a long way towards making this image pop! In my experience once you have a muddy base it is hard to glaze your way out of that problem. Just redo the painting. My bet is that you will end up with an even better finished painting!
-
@Rob-Smith Thanks, you are probably right about doing a redo. I'll try that and post the fix and the redo together. I have a better idea now of where I want to save the white plus I do have some masking fluid that I could try and play with too. Thanks again!
-
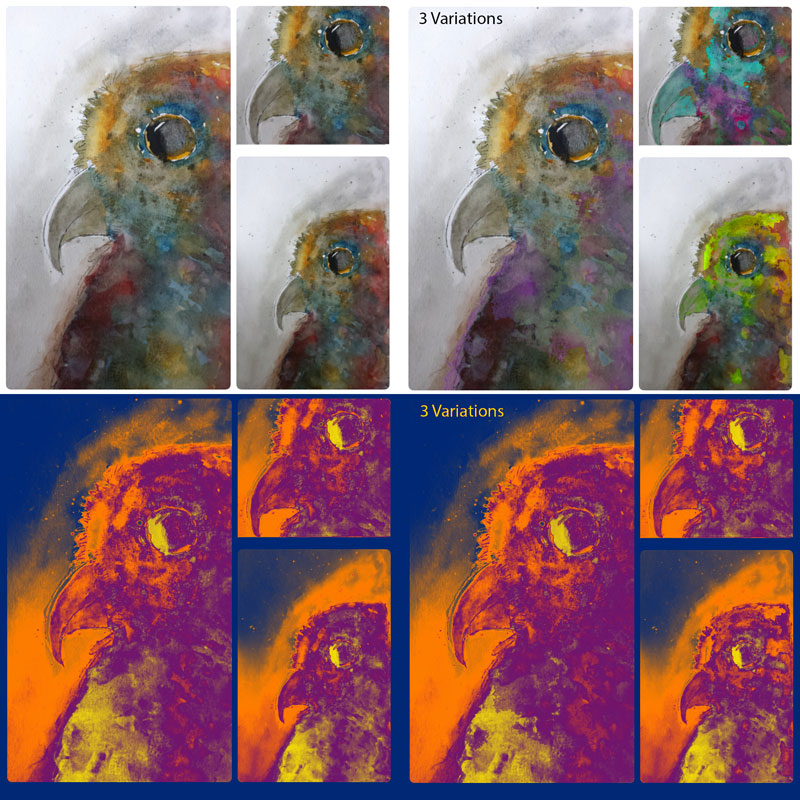
Digitally you can fix this with layers. Traditionally, you might have to soak areas with a damp paper towel, trying to loosen the color, then dabbing out more with a dry paper towel. That runs the risk of losing areas you might want to keep AND depending on the thickness of your paper, it might not take to absorbing much more color.
Contrast wise, you can go bolder with rich almost pure paint from the tube color with little to no water, but once you go that dark, again it's the point of no return. Good luck if you're starting over, I personally love it as is...
-
@Bobby-Aquitania Oh a digital fix...nice! Well now I may have to fiddle with all three. To be continued!
 And thanks for the encouragement, it is much appreciated. Traditional watercolor is way out of my comfort zone so thanks!
 -
Ah well digitally select the outer edges of the bird, place a new layer of white background under it, LOCK that. On the layer above, make a copy, LOCK the old layer to save as your good copy, work on the copy.
On the copy layer, here's a fun trick, click areas of large colors with the magic wand, select, copy and past that to a new layer above you. Using Control + U, open the adjustment color layer, and slide the bars around, lower the saturation... the rest is up to you. You can also select the whole thing and make a gradient map. And slide the color around on that...
Under Layer / New Adjustment Layer / Gradient Map
Sorry gotta run for dinner, will come back and further explain that last part... as seen on the bottom.

-
Okay this VIDEO shows how to use a Gradient Map more effectively.
-
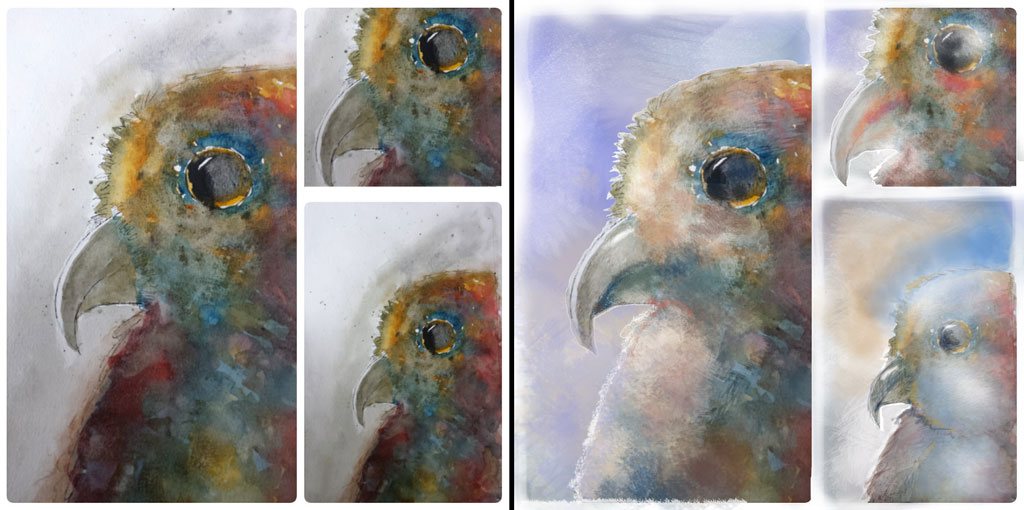
I couldn't help but play around with this one Charlie... hope you like it.

-
@Bobby-Aquitania Thanks so much for the info, I'll have to give that a try. Nice job on the paint over.
 Thanks