Ink Fairy Piece Re-Work
-
Hi everyone,
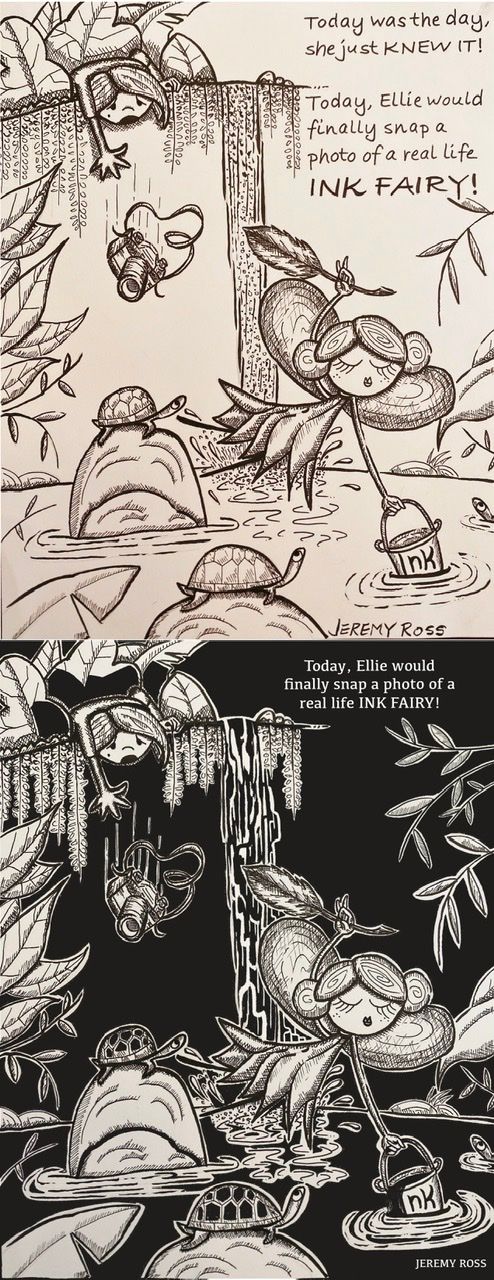
I’m very grateful that my September piece made the semifinals; however, the critique was that it lacked values (I.e. too much white).
I sincerely appreciate the critique and took the opportunity to revise it accordingly.
I would appreciate any additional critiques from the community if you are so inclined.
Thank you!
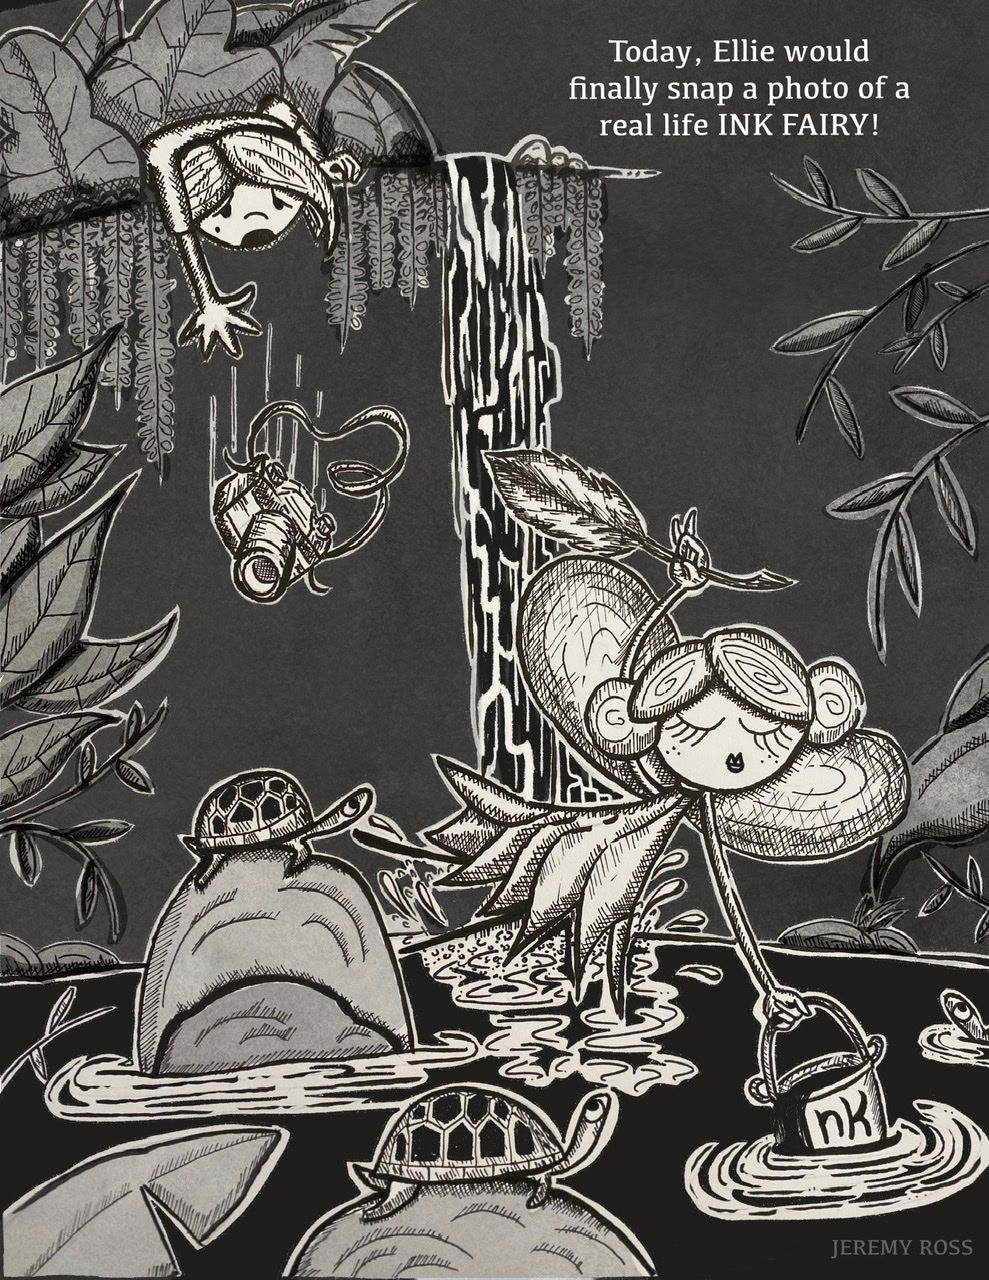
I have the before (top) and after (bottom).
Thoughts? Is it better?
-
@Jeremy-Ross I think it looks so cool with the dark background! Looks like a completely different piece and now has an old engraving print look to it
 However with every single picture element being white, they're all given equal importance. You're not really using your values to direct the eye to where the action is. What if you did something sort of like this:
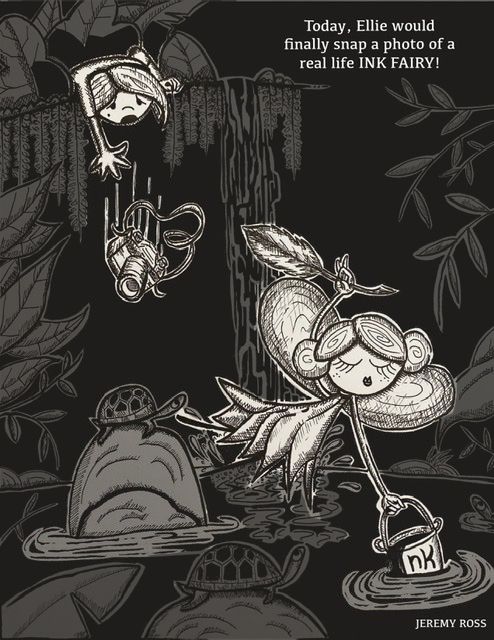
vanessastoilova.com
instagram.com/vanessa.stoilova/Check out my Youtube channel for tips on how to start your career in illustration! www.youtube.com/c/ArtBusinesswithNess
-
Thank you @NessIllustration!
-
another approach suggestion you can go with the light version

-
@Molambo Your solution is better! Mine ended up way too dark, this feels more balanced!
-
Instantly made it better. Nice work

-
Nicely done @Molambo! Many thanks!
-
@Molambo yeah, this looks great.
-
@Jeremy-Ross
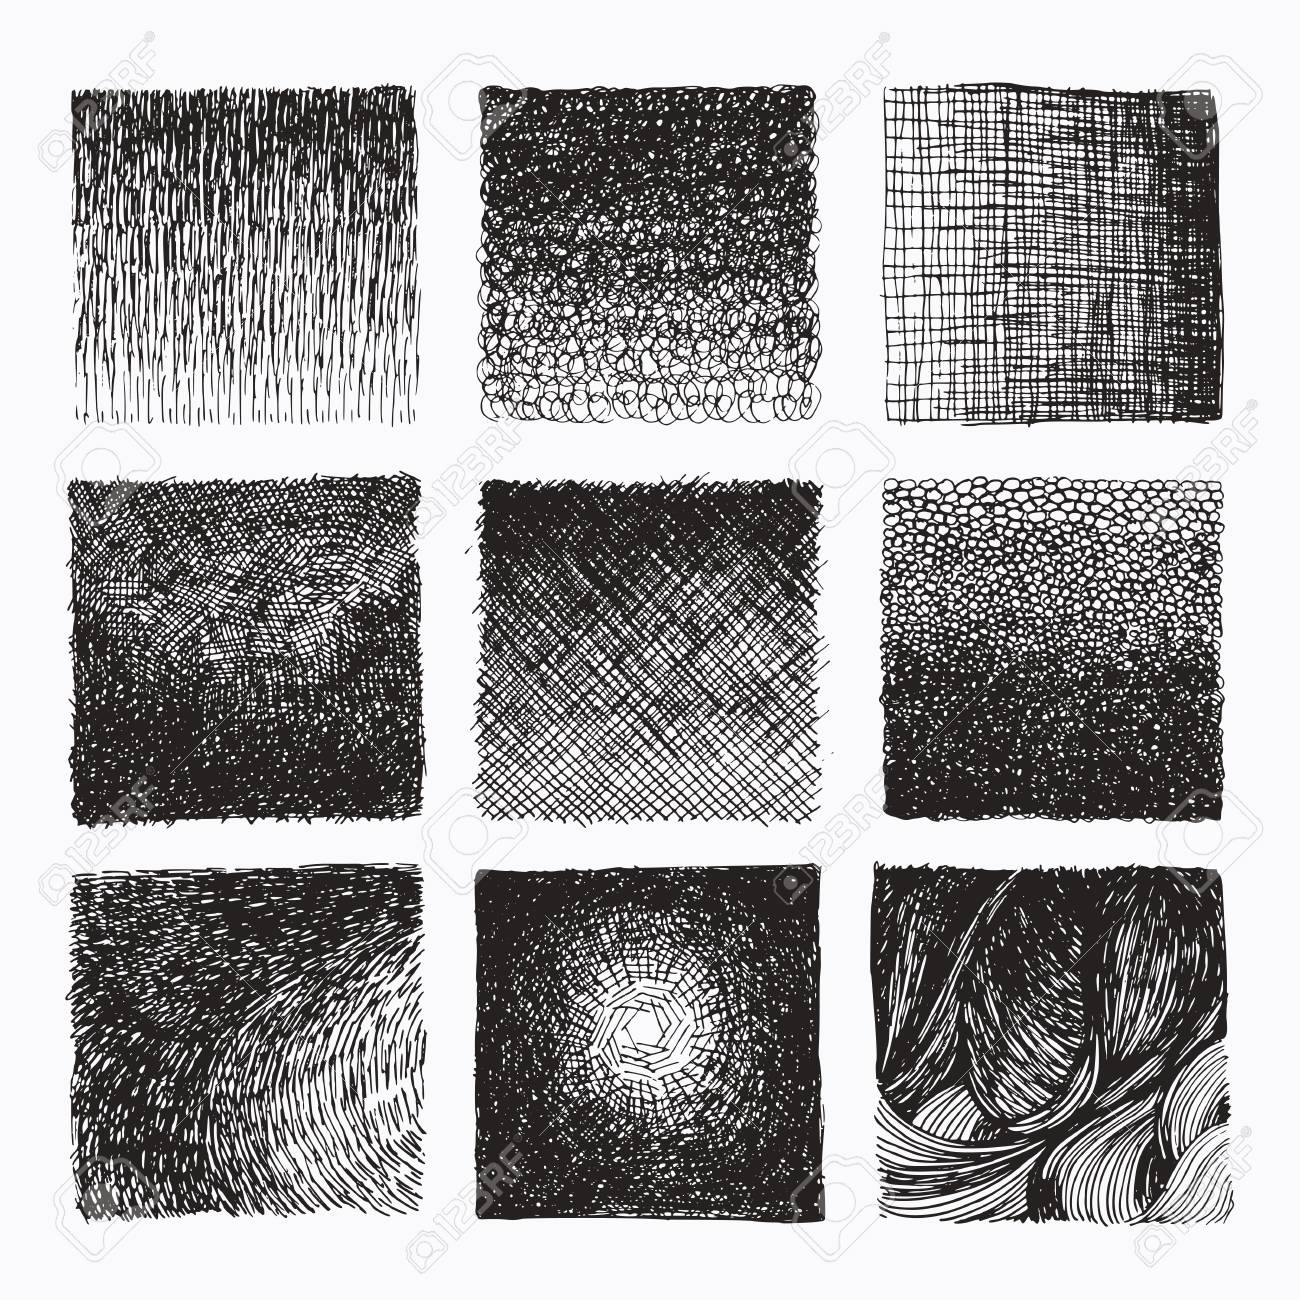
Two things which i want to add.You dont need to use different shades like i did with the quick overpaint which would in traditional art require you to use ink washes. You can use "crosshatching" too to get there and work out your dark/light areas.
image via google for example
Another thing is that when you intend to color your inks later on you dont need to do any of that and the artwork you created in itself is fine how it is since all the differences in "shading" will later on happen due to the colors.
As long as you dont see your lineart as the finished piece you always should keep the color stage in mind which might safe you some time which you would invest in stuff like washes or hatchings/texture via ink.
-
Thank you @Molambo, very good ideas! I really like exploring different cross hatching methods so thank you for sharing!
-
@NessIllustration
some vaiue shifts and the dark version could work too so your example is fine too. its the same goal with different approaches to lead the eye to the more important things. -
@Molambo - The cross hatching sample you found is great! Thanks for sharing.
")
-
I agree with the other commenters. "Too much white" was not the problem / critique. The issue they were pointing out is that the whole image has the same value /weight to it.
By "values", they mean shades of gray (which can also be accomplished visually with cross hatching), or if it's a color piece, the equivalent of different shades of gray in the colors (red is a "dark" color, while yellow is a "light" color, etc.). I don't know much about color theory, though!
If you study design principles, one of the things you learn about is "hierarchy" -- meaning, "What is the focus of the image?", or "Where am I supposed to look first?" You can recognize this easily in text. If you see a sign that has some words in big, bold letters and other text in smaller letters, you will probably read the big bold words first--even if the bold words aren't at the top of the sign. Bigger, smaller, brighter, darker -- whatever is significantly "more" catches your attention.
Hierarchy can be achieved through different techniques. Basically, you want something to be different -- and often you'll have more than one aspect or quality that's different than the things around it. Big/Small, Light/Dark, Warm/Cool (colors), Detailed/Vague, etc.
Your eye should be immediately drawn to the main part of your drawing. I've often heard our SVS teachers talk about 1st read, 2nd read, & 3rd read. What is the first thing you see when you look at the picture? What is the second thing you notice? It should only take a split second to notice the 1st thing. You should see it immediately -- without thinking or effort. By the time you get to the 3rd thing, it's ok if it takes some time & paying attention to see it.
It looks like you may have considered having different sizes -- the fairy is bigger than the turtles. Although, the turtle on the rock does make a shape similar in size, so you want to be aware of things like that. Maybe you can practice by circling the general shapes in other people's work, and your own, to help notice the size differences of different shapes.
Another design principle you can use is "Contrast". High contrast is when you have something white next to something black. Low contrast is when you have colors of similar value. For example, a black horse on a white background is a high contrast image. Line work is usually not thick enough to count as "black" or "white". You need to consider how dark or light the character or item is overall -- compared to the background, or whatever is adjacent to that object. You want to be able to zoom out & squint your eyes, and still be able to see a distinct silhouette. Your original image is low contrast, because all the objects in the image have about the same amount of shading, and all of the marks on the page are pretty evenly dispersed.
When they post the critique arena video (https://courses.svslearn.com/courses/take/critique-arena), go back to the part where they compare the group that made it into the top 16 -- next to the group that didn't. All of the ones that didn't make the cut had very little contrast. It's ok to have a low contrast image, but it will have a hard time standing out next to an image with higher contrast, and it will need to use other techniques or "design principles" to make the image "readable" and interesting.
I hope that helps explain it!
It's great that you're putting in the effort to learn & use the advice / critique of others to improve your skills. You have a great attitude!
-
@Miriam this is great advice thanks! (Mine was one of the low contrast drawings too)
-
@Jeremy-Ross I prefer the updated version. Looks much better. I am partial to drawing on black backgrounds.
I agree with @NessIllustration about the white elements. I find the double outline on every object in the drawing brings everything to the foreground. Where it works is with the waterfall as this looks like water flowing over contrasting rock contour shapes to me so it looks like its behind the fairy. And also the line across Ellie's back because it broken up a bit and not so solid.
But the overall image doesn't fit the brief because I doubt Ellie will get the photo. That camera won't be working after getting dropped in a pool of ink. She could try drying it out in a bag of rice. But I reckon an ink wash is a camera killer.
-
Thank you so much @Miriam for offering your great advice! I agree with everything you’ve said.
Here’s revision #3, I think this reads much better.