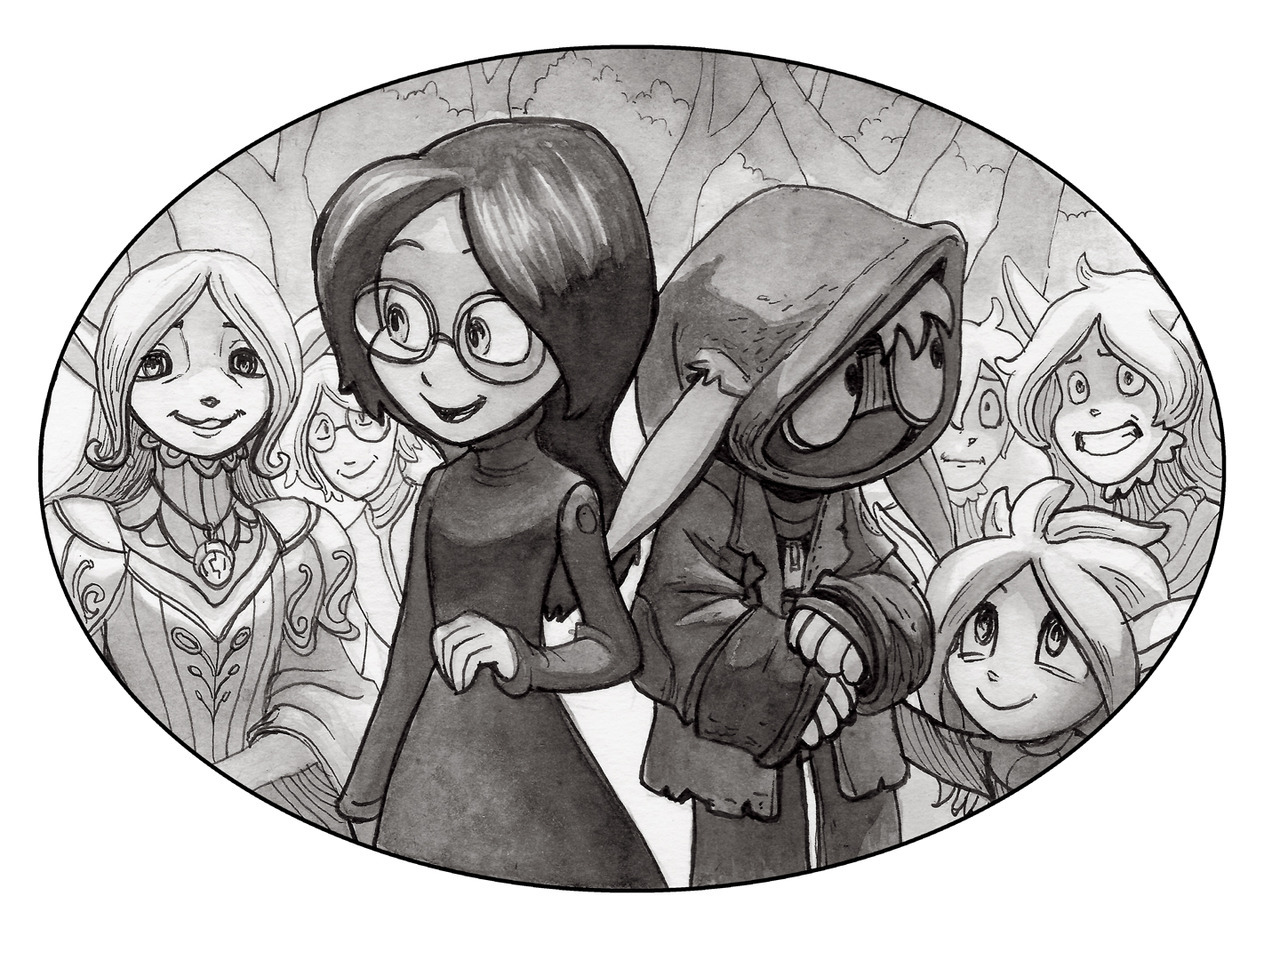
Chapter Illustrations for "The Forest in the Landfill"
-
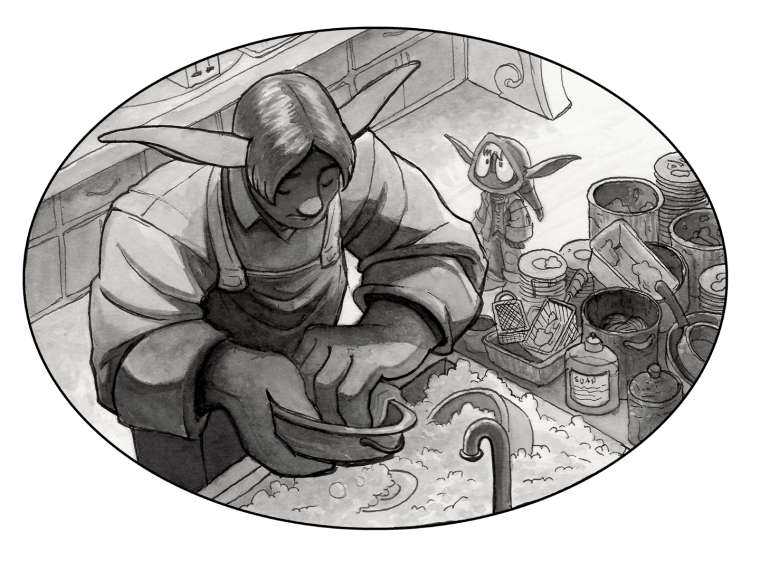
I was going to use these as samples of illustrations to submit for a Young Reader's book I'm writing called "The Forest in the Landfill". I was wondering if there was anything you think they need, editing-wise? Also, is there a way to edit watercolor paintings on the computer? I know about levels, but it seems that digital brush strokes can end up looking out of place when they are done on traditional media.
-
I really like these images! I've been interested in chapter books lately, too, so if you come across new things in that part of the industry it would be neat to hear your experiences. I'm no expert on PhotoShop but I've been mostly happy with the effect that I get using the burn and dodge tool on my pencil drawings. Maybe they can at least help with value adjustments on watercolor.
-
These are really lovely! I find as well that digital brush marks always look out of place. One thing I have used to good effect is a very transparent eraser using a natural brush shape, at least for cleaning up and brightening whites.
-
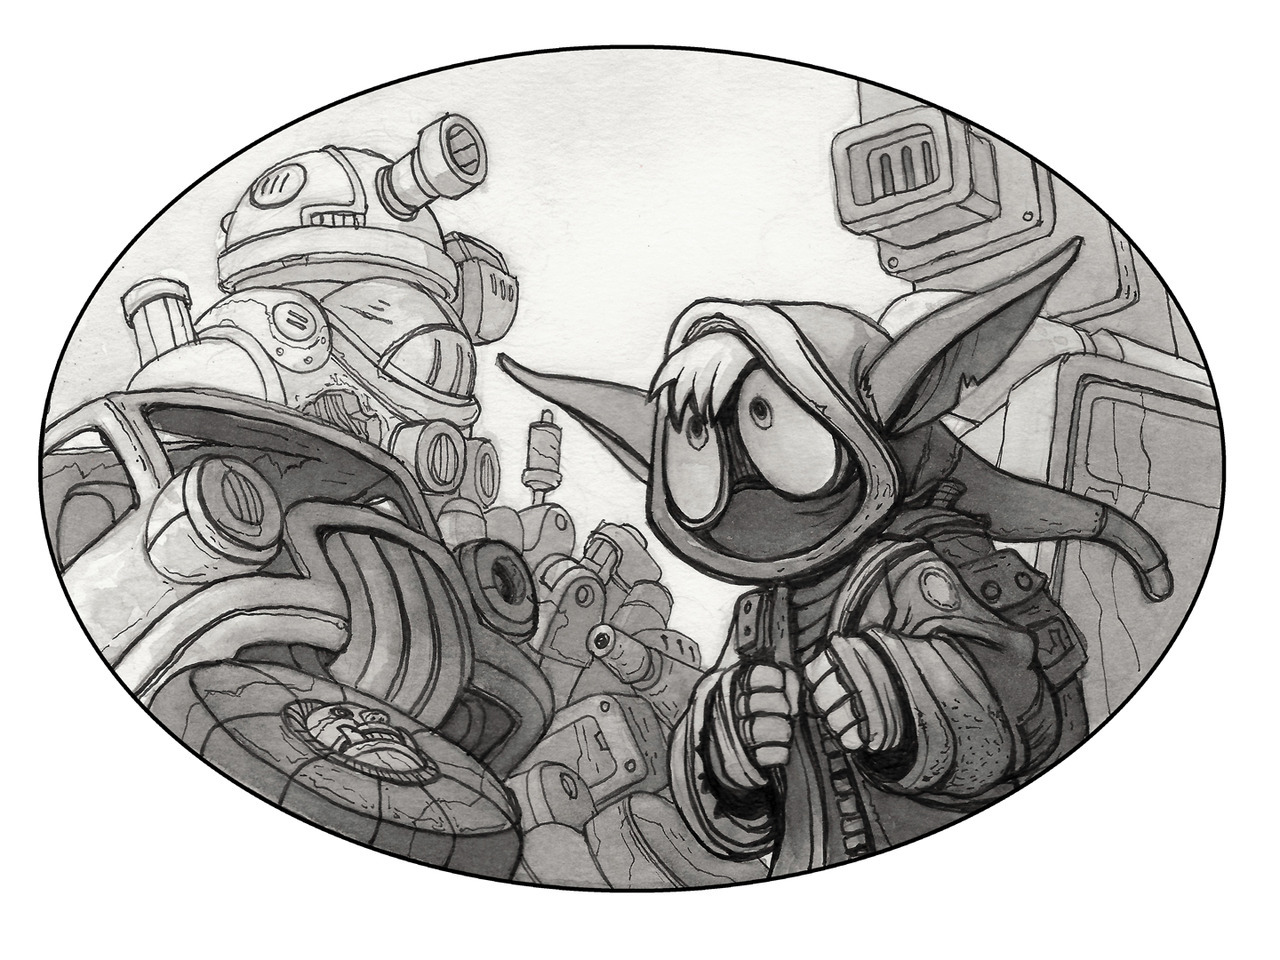
@bdonoho These look really cool! Makes me really curious about the rest of the story.
I use the patch tool and the spot healing or healing brush tools to fix uneven washes or errors on my watercolors. I'm sure there is a tutorial somewhere you can look up; it's a relatively simple method, and is great for preserving the texture. They basically copy areas of smooth washes to fix blemishes and irregularities. These are my go to's and solves most of my problems.
You can also scan in washes and brushstrokes to make a 'toolbox' that you can add to the paintings. You can then manipulate and edit these to correct mistakes without compromising the traditional qualities too much.
Also, if you have Photoshop CC, you can download Kyle Webster's watercolor brushes, and I find them pretty good for fixing watercolor mistakes. Also digital brushes with natural or irregular edges are helpful. I have this speckly, soft-edged brush that while not a 'watercolor' brush, saves my behind when editing.
Also, if you mess up on area pretty bad, you can just repaint that one area instead of the whole thing, and 'paste' it over in photoshop, erase the edges with a soft, natural brush, and boom no one is the wiser.
As long as you keep in mind the properties of the traditional media that make it look the way it does, you'll be able to edit the piece more effectively.
P.S. Multiply and overlay layer adjustments will be your biggest friends! And changing opacity!
-
Wow thanks Teju, that is some excellent advice I intend on using!
I went to Ringling back in 2006 for computer animation. Is Shawn Barber still teaching there? That guy was an ace. -
@bdonoho Ah, another Ringle in the wild, haha! He doesn't teach there anymore, I think he's in California now according to his insta, but wow his work is sweet!
-
Have you had Caleb Prochnow as an instructor? He was my roommate.
-
@bdonoho I haven't had the opportunity to take one of his classes, but he's really nice
")
-
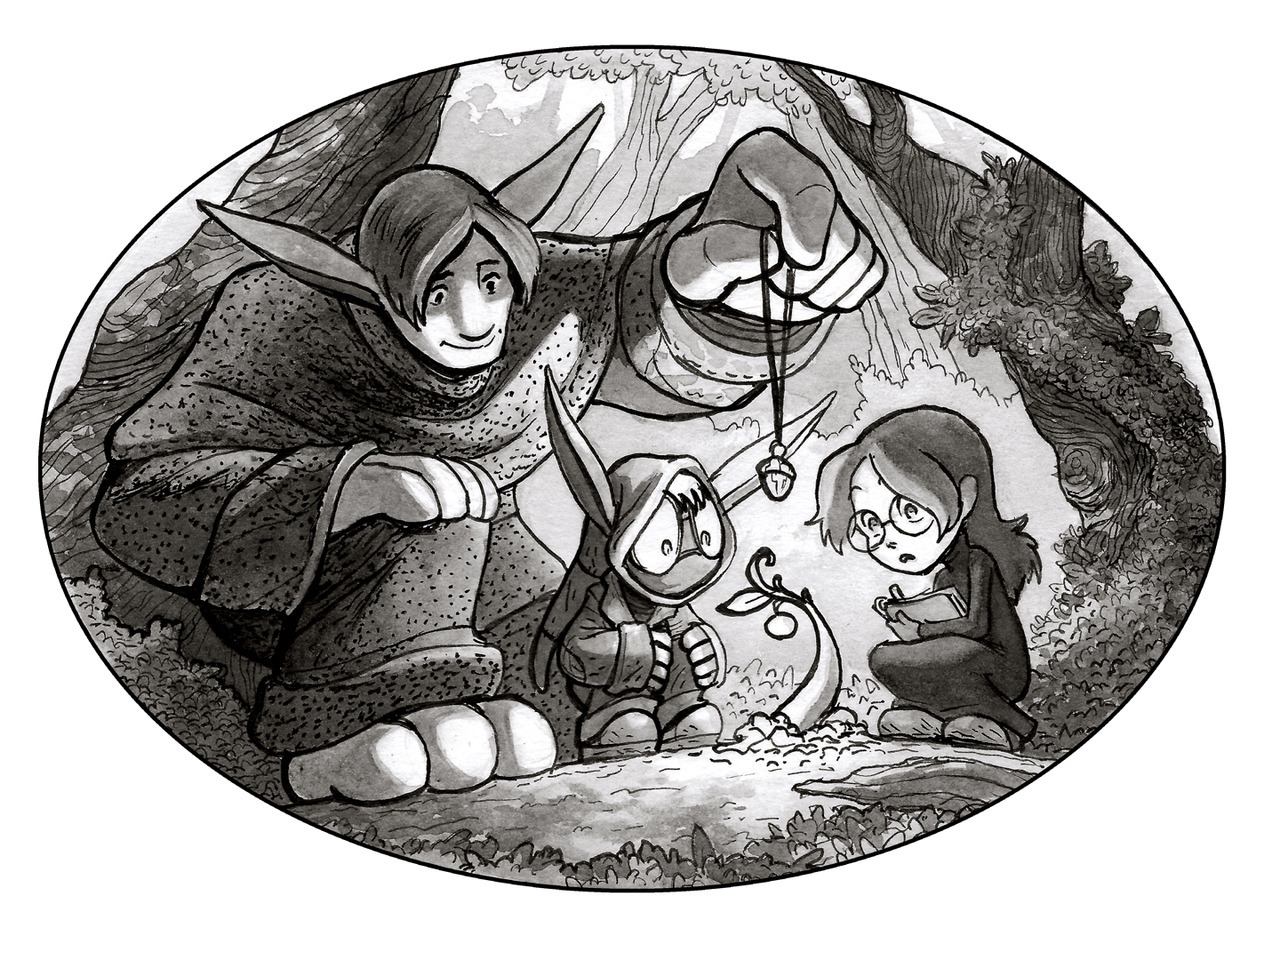
Ok, here's the next chapter! This was the first one that I absolutely had to fix on the computer. After I scanned it, I took the original and I tried doing a "lift" after looking it up online and I accidentally ripped off Rooty's (the giant's) face, so the original is in the garbage. Teju, your advice was really helpful. I used the heal tool and a few other things to fix Rooty's face and fix some of the levels on the other stuff.