Book dimensions for digital drawing
-
I’m going to begin working on a self-published graphic novel drawn entirely in Procreate. I was wondering if I should make the dimensions of my canvas the same as the book dimensions (with bleed) or make the dimensions larger (that is, shrink the images into InDesign).
Reason I’m asking is I’ve always read that this happens in traditional drawing. For example, drawing on a, 11x14 paper that will be shrunk down to a smaller comic book page.
Would it matter in digital?
-
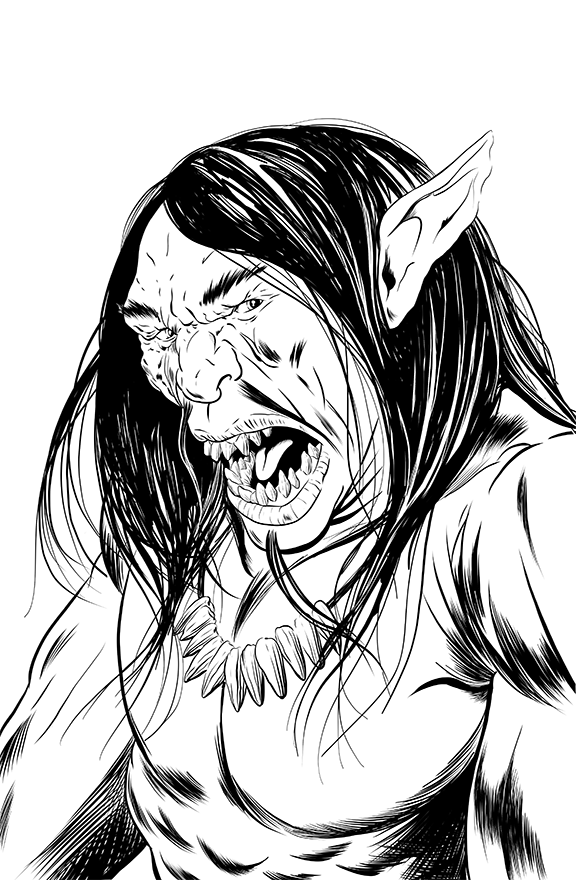
@danielerossi Since Procreate isn't create vector artwork...I think using the traditional method will improve the reading of the line work once it's reduced to the final size. You could also think about doing the art in illustrator (adobe has another drawing app that does vector as well but the name escapes me ATM) on the iPad and then have completely scalable artwork that's resolution independent. I've done covers at work completely in Illustrator and they're super flexible since you don't ever have to worry about scaling. This file is in a vector format and has been saved as a png. Things to think about


-
That’s an interesting idea! Never thought about using vectors. I always draw with pencils and ink (traditionally and digitally) so I naturally didn’t think of vectors. Could also be advantageous when exporting to SVG for web. I’d need to find the right brush though since I want to emulate as close to my previously self-published comics for continuity (is that even possible?).
But really interesting idea!
And also your mention of since Procreate is bitmap then perhaps drawing at a larger physical size would also be necessary.
-
@danielerossi Pretty sure you can customize your brushes in illustrator....but I'm not sure if it'll match your previous work. As for the svg export, try it. I've had some illustrations become very heavy when they were exported from illustrator. That was a few years ago and it also had a lot of gradients (but the shapes were actually pretty simple). My fear is that to plot all of the "organic line work" it may also cause the file to be pretty heavy. Like I said...try it. Adobe may have gotten better at exporting the svg file...but I'm kinda doubting it. Just because of the vector points that will be required to plot. Either way, being vector will allow you to export the file as dense as you wish for whatever purpose you wish...or you can just leave it as vector

Ok so I got curious. I took the file above and exported it as an svg file and it actually got smaller. It also exported with some weird artifacts. That could be because I've not simplified the vectors as much as they could be so I'm going to blame that. Other than the artifacts....it actually exported pretty well. Color me a bit shocked. I do think simplifying the vectors would fix it though.
-
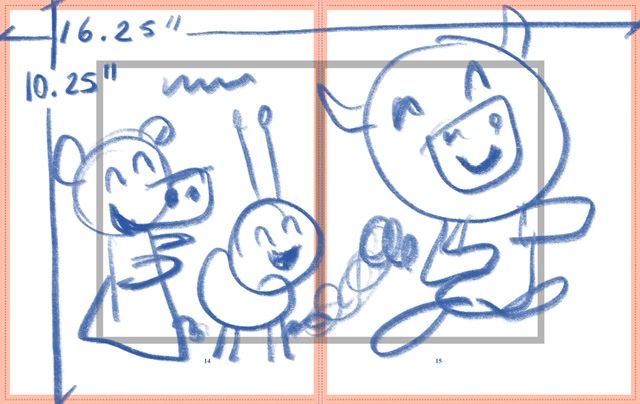
Hi @danielerossi, I create the canvas size based on trim and bleed in procreate (double page spread) so I don’t have to worry about scaling up or down when going to print.
You can create a smaller border within the spread for your sketches and thumbnails to draw through the border (see attached quick example).
I’ve found scaling both up and down in procreate creates the pixelated effect, which is not ideal.

-
@jeremy-ross Thanks for the tip! I didn’t know Procreate pixelated things when scaling. Trim size it is!
-
@jeremy-ross I was just thinking of something. Once I export as a TIIFF, it’s no longer a Procreate file but a TIFF. Wouldn’t it not pixelate once I shrink down in, say, InDesign?
Also, do you have the left and right sides of your spread joined together bleed edge to bleed edge or trim edge to trim edge?
-
@danielerossi if your pages will be detailed panels, you may want to increase canvas size, just like you would in traditional, to give yourself that room. It will decrease the layers you can use in Procreate, but there are ways around that if you like to work with multiple layers.
As far as sizing up and down an image in Procreate, yes, it will pixelate. My solution to this is to do all the resizing and make all the changes on my rough sketch layer, since it won't matter if it blurs the lines. Then once I have the composition set, I do the detailed drawing on a separate layer (or in your case, perhaps it would be inking).
When the artwork is complete, I export it as both a JPEG and TIFF. If I need to do any resizing or adjusting of elements, I'll export it as a PSD and do any editing in Photoshop.
You can always resize the canvas in Photoshop too -- but like you mentioned, it's easy to resize images when you place them in InDesign. Just make sure that any image you place will scale to be at least 300 dpi in the trim size.
Hope this helps answer your question.
-
Hi @danielerossi, I agree with everything @Melissa-Bailey-0 just said, that’s been my experience too.
That’s because Procreate is raster-based, not vector-based.
The most important part is getting your sketch just right so you don’t have to resize or scale during inking or rendering. I’ve learned this the hard way.
-
@melissa-bailey-0 Great point about the amount of detail in my panels. I won’t have much detail so I’m good in that sense.
-
@jeremy-ross The only resizing I’ll be doing is resizing down
 But for now I made a size-is template at 600 dpi. I only get 6 layers to play with but I’m fine with that as my comics are black and white